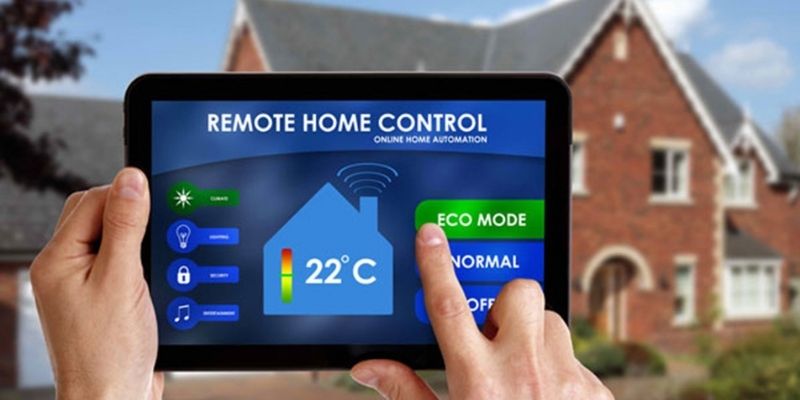
Beginner’s Guide to a Smart Home AI Project

Embarking on your first smart home AI project can seem like a daunting task, but with the right guidance, it can be an incredibly rewarding journey into the world of intelligent automation. By the end of this analysis, you’ll have a solid foundation to confidently tackle your first smart home AI project.
Contents
Understanding Smart Home AI Project Basics

Before diving into code and hardware, it’s essential to grasp the fundamental concepts underpinning a smart home AI project:
Defining the Scope of a Smart Home AI Project
A smart home AI project involves integrating artificial intelligence (AI) with smart home devices to create intelligent automation or enhanced functionality.
For a beginner, it’s crucial to start with a small, well-defined project with achievable goals. Avoid trying to automate your entire home with complex AI from the outset. Instead, focus on a specific problem you want to solve or a particular aspect of your home you want to make smarter.
Key Components of a Smart Home AI Project
A typical smart home AI project involves several key components:
- Microcontroller: This acts as the “brain” of your project, processing data and controlling other components (e.g., Raspberry Pi, Arduino).
- Sensors: These devices collect data from the environment (e.g., temperature, light, motion).
- Actuators: These components perform actions based on the microcontroller’s instructions (e.g., turning on a light, locking a door).
- AI Model: This is the core of the intelligence, allowing your project to learn from data and make decisions (can range from simple rule-based AI to more complex machine learning models).
- Software/Code: This is the instructions you write to control the hardware and implement the AI logic (often in languages like Python).
- Connectivity: This enables communication between your project and other devices or the internet (e.g., Wi-Fi).
Choosing Your First Smart Home AI Project
For beginners, selecting a simple yet engaging smart home AI project is key to success. Some excellent starting points include:
- AI-Powered Smart Lighting: A project where lights adjust their brightness or color based on ambient light levels or occupancy detected by a simple AI model.
- Basic Object Detection for Security Alerts: A project using a camera and a pre-trained AI model to detect specific objects (e.g., a person, a pet) and send notifications.
- Voice-Controlled Appliance: A project using a microcontroller and a voice recognition API to control a simple appliance like a fan or a lamp with voice commands.
Step-by-Step Guide to Your First Project

Once you have a basic understanding, here’s a step-by-step guide to help you execute your first smart home AI project:
Planning and Design
- Clearly articulate what you want your project to achieve.
- Create a simple diagram outlining the components and how they will interact.
- Select beginner-friendly options based on your project’s requirements and available tutorials.
- Divide your project into smaller, manageable steps.
Hardware Setup
- Follow the manufacturer’s instructions to install the operating system and necessary software on your chosen board.
- Carefully wire the sensors and actuators to your microcontroller according to your circuit design. Double-check all connections.
Software Development (Simplified)
- Install any required libraries for interacting with your hardware and implementing basic AI functionalities.
- Start with simple code to control individual components (e.g., reading sensor data, turning an actuator on/off).
- For your first project, this might involve simple conditional statements based on sensor readings or using a pre-trained AI model through an API.
Connecting to the Cloud (Optional, for more advanced beginners)
- If your project requires internet connectivity or more advanced AI processing, familiarize yourself with beginner-friendly cloud IoT platforms.
- Learn how to send data from your microcontroller to the cloud and potentially receive commands back.
Testing and Iteration

Testing is a crucial phase in any smart home AI project. It allows you to identify and fix errors and refine your creation:
Run your code and observe how your hardware components behave. Check if sensor data is being read correctly and if actuators are responding as expected.
When things don’t work as planned (and they often won’t initially!), systematically troubleshoot your hardware connections and your code. Online resources and communities can be invaluable during this stage.
Once you have a basic working prototype, think about how you can improve its functionality or make it more robust. This iterative process is key to learning and building more complex projects in the future. For a smart home AI project, this might involve refining your AI logic based on testing data.
Learning Resources and Next Steps

The journey of learning about smart home AI projects is ongoing. Here are some valuable resources and suggestions for your next steps:
- Platforms like Coursera, edX, Udemy, and YouTube offer numerous beginner-friendly courses on IoT, AI, and specific microcontroller platforms.
- Engage with online communities dedicated to Raspberry Pi, Arduino, and smart home development. These forums are excellent places to ask questions and learn from others.
- Explore the official documentation for the hardware and software you are using.
- As you become more comfortable, try integrating different types of sensors and actuators into your projects.
- For more advanced AI functionalities without needing to train your own models from scratch, explore pre-trained models and AI APIs offered by cloud platforms.
To Tech Home Times, embarking on your first smart home AI project is a fantastic way to learn about the exciting intersection of smart homes and artificial intelligence. By understanding the basics, following a step-by-step approach, embracing the process of testing and iteration, and leveraging available learning resources, you can successfully create your own intelligent home automation solutions.


